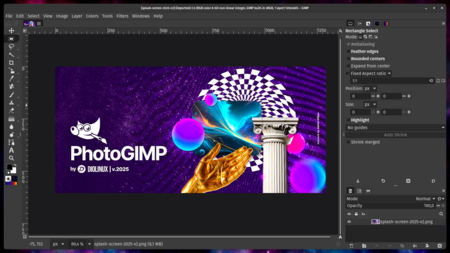
Looking for a powerful photo editor without the hefty price tag? GIMP has emerged as a leading free and open-source alternative to Photoshop. However, those accustomed to Adobe’s interface might find GIMP’s layout and functionality a bit daunting. Enter PhotoGIMP, a transformative solution designed to bridge this gap. It’s a free patch that adapts GIMP’s interface, shortcuts, and settings, making the transition from Photoshop to GIMP smoother.
What Exactly is PhotoGIMP?
PhotoGIMP is not merely a standalone application but a set of configuration files that alter the default GIMP environment. The brainchild of Dionatan Simioni, known as Diolinux, this project is distributed under GPL-3.0 license on GitHub. It can be freely used, modified, and shared, showcasing the spirit of open-source software.
It’s important to note that PhotoGIMP doesn’t introduce new functionalities into GIMP, nor does it replicate Photoshop entirely. Instead, it aims for an interface that is easy to use for those transitioning from Photoshop. At its core, users are still working with GIMP, maintaining both its strengths and weaknesses.
What Changes Does PhotoGIMP Bring?
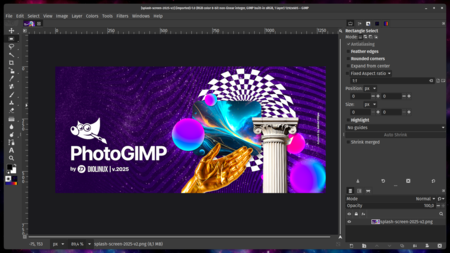
PhotoGIMP introduces several enhancements to the user experience:
- Tool Layout: Icons and panels are rearranged to resemble the familiar layout of Photoshop, minimizing the learning curve.
- Keyboard Shortcuts: Keybinds align with Adobe’s official documentation for Windows, helping users retain muscle memory from years of using Photoshop.
- Canvas Usage: Default settings are modified to maximize visible workspace, enhancing usability.
- Welcome Screen and Icon: A customized start screen and an updated launcher icon for Linux offer a refreshing look.
- Default Language: The patch sets English as the default language, easily changeable within the settings.
How to Install PhotoGIMP
The installation process varies by operating system, but the basic logic remains the same. First, you must install GIMP and open it once to generate configuration folders, which PhotoGIMP will then replace.
On Linux: Designed primarily for GIMP installed via Flatpak, download the Linux version of PhotoGIMP, extract it, and place the files in hidden folders .config and .local. It also works with installations from other managers like apt or dnf, given the config folder location is consistent.
On Windows: Open Run (Win + R), type %APPDATA%GIMP, then copy the contents of the downloaded PhotoGIMP folder into that directory.
On macOS: Place the configuration files in ~/Library/Application Support/GIMP, accessed with Cmd + Shift + G.
Always back up the original settings folder before making changes, as PhotoGIMP overwrites previous configurations. Uninstalling is straightforward: delete the configuration folder and reopen GIMP to revert to factory settings.
Understand GIMP’s Limits
PhotoGIMP aims to ease the transition for Photoshop users. For those unsure about diving into GIMP due to its differences from Adobe’s platform, this patch offers reassurance. However, it’s crucial to remember that it’s still GIMP at its core, and the tool retains both strengths and weaknesses.
If you don’t require advanced professional tools that Photoshop offers—like detailed color management or complex editorial features—GIMP, especially with PhotoGIMP, is more than sufficient. Since version 3.0, GIMP also supports non-destructive adjustment layers, adding significant functionality.

With over 13,000 stars on GitHub and extensive community support, PhotoGIMP proves to be an outstanding alternative to the expensive Photoshop subscription, especially for users who can adapt to GIMP’s offerings. Plus, there’s no need for any accounts or subscriptions; all work is stored locally. Installation and uninstallation are seamless, merely requiring the copying or deleting of a folder.